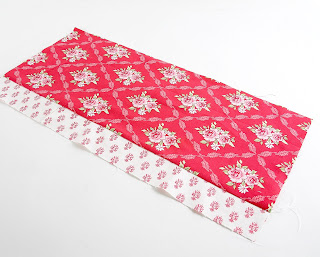
1. cut a strip of light fabric measuring 12" x 1.5" and sew it to the bottom of a strip of dark fabric measuring 12" x 45."
2. cut out 4 triangles measuring 4" across the bottom and 6" tall
3. sew the triangles right sides together in pairs, leaving a gap in the base of about 1"
4. snip off the point and turn the right side out.
5. sew these two triangles together with one line of stitching straight down the centre.
6. stuff with toy filler
7. take a 10" length of dowelling and wrap a length of ribbon around it. [or you can skip the stalk and glue the tree straight to the top of a pot]
8, push the stick in between the triangles and secure with a bit of glue, then hand sew the openings closed.
9. take a small pot and push either oasis, pebbles or clay into the base, then the tree goes straight into the centre. If you're using pebbles, drizzle glue over the top to stop it falling out, decorate with buttons.
10. I found a heart shapes pin that is just the finishing touch!


Hi Debbie
ReplyDeleteSuper cute! In my small home with a large, bouncy dog a Christmas tree is a bad idea! This is small enough that it won't become a hazard lol so will make a lovely seasonal decoration where there usually wouldn't be one.
And the rest of the year it can live on my table next to the sewing machine and pretend to be a cactus!!!
Hugs, T x